Channels
The Channels page in your OTT platform allows you to manage and organize the content categories and sections of your streaming service.
Here's a detailed guide on how to use it:
To access the Channels section, click on "Channels" in the left sidebar menu. It will be highlighted when selected.
In the upper corner of the interface, you'll be able to locate:
A search bar that allows you to quickly find specific channels by typing their names.
Two buttons on the right:
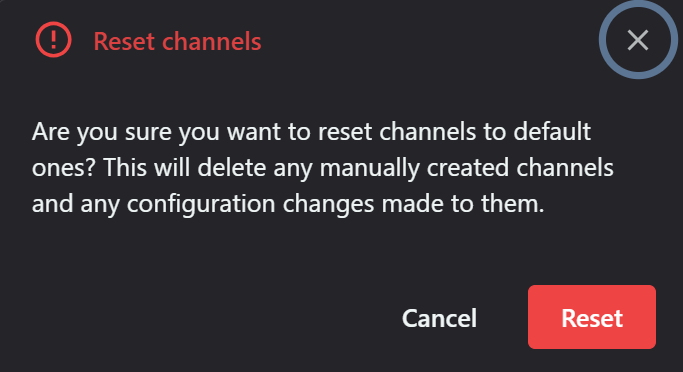
a) A reset icon to rest the channel list

b) "Add new channel" (+) to create a new content category

The main interface displays information about each channel:
- Checkbox: For selecting multiple channels for batch operations
- Name: The title of the channel or content category
- Content type: Specifies the type of content in the channel (e.g., Movie, Series, Person)
- Layout: Indicates how the content is displayed (e.g., Grid, Slider, List)
- Auto update: Shows the method for automatically updating content (if applicable)
- Last updated: The date when the channel was last modified
- Edit icon: Click to modify channel settings
Managing Channels:
- To edit a channel, click the pencil icon at the end of its row.
- To add a new channel, use the "Add new channel" button at the top right.
- To sort the channels from the header of the every field.
- Use the search function to find specific channels quickly.
Adding a new channel
This functionality allows you to create and configure new content channels for your streaming service.
Here's a detailed guide on how to use this interface:
The page consists of two configuration tabs:
Details: Showing main channel settings.
SEO: Containing search engine optimization settings for the channel.
Channel Configuration Fields:
a) Name: Enter a unique name for your new channel.
b) Description: Add a detailed description of the channel's content or purpose.

c) Content: Select how content will be populated in this channel.
You can decide whether to manage the content manually or to let the content being managed automatically. When listing all available content of specified type is selected, it can't be curated manually.
d) Type of content: Choose the primary content type for this channel.
e) Filter titles by: Allows you to set criteria for which titles appear in this channel.
Content filtering allows specifying additional condition channel content to be filtered on. If 'Dynamic (from url)' is selected, filter from url will be used. For example, a single channel configured to filter by dynamic genre would show action titles at 'site.com/genre/action', comedies at 'site.com/genre/comedy' and so on, for any genre.
f) How to order content: Specify the sorting method for channel content.
g) Layout: Choose how content will be displayed in this channel.
h) Layout when nested: Select a layout for when this channel appears within another channel.
i) Hide title: Toggle switch to control whether the channel title is displayed on the site.
SEO Configuration Tag:
a) SEO title: Enter a concise, descriptive title for your channel.
This title will appear in search engine results and browser tabs.
Aim for a title that is both informative and appealing to potential viewers.
b) SEO description: Use this larger text area to provide a more detailed description of your channel.

This description may appear in search engine results under the title.
Write a compelling summary that accurately represents the channel's content.
Related Articles
Can I publish own and third party live channels?
Yes. PlayBox Technology OTT CMS provides functionality to publish unlimited number of live channels via CDNHow to enable an MPO video capture device/AB virtual channels in Live View
Enabling AB Virtual channels: First to enable AB virtual channels we need to import a file called DSMPOVirtualChannelEnumerator.dll. The file is located in \\192.168.40.6\Development\mp2\Common Files\Test Before copying and pasting the dll. file ...Can I get single IP output from multiple AirBox streaming channels?
Yes, it could be achieved is to use DVB Muxer. The program will mix individual AirBox UDP outputs as a single stream through a UDP socket.Clip Trimmer
Clip trimmers trimming of clips with multiple video or audio channels.Remote Playout Control
Multi Playout Manager is a web server application. It was designed to control multiple AirBox channels from within the same user environment or from a remote location. MPM supports a web-based interface, from which web users can control all AirBox ...