Landing Page Customization
The customization of the landing page can be done here: Appearance - OTT Stream
The user can perform several important changes on the landing page:
1. Update header title, subtitle, and image: The landing page is prime area for capturing user attention. Ensure the messaging aligns with your current marketing strategy

2. Adjust header image blur and opacity: These visual tweaks can dramatically change the feel of your landing page. The blurriness of the header is activated through a toggle.
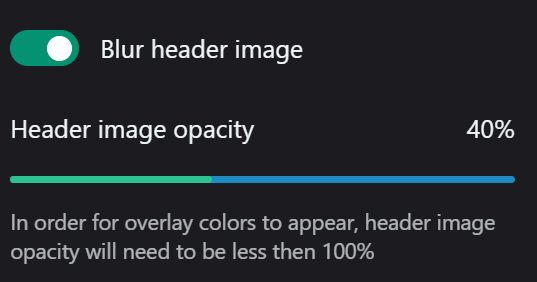
3. Choose overlay colors: If the overlay function is activated and selected, you have an option to decide on the overlay colors. Ensure these colors complement your branding and provide sufficient contrast for text readability.
4. Configure action buttons: The action buttons are the buttons in Header and Footer areas. You can have 2 Header buttons and 1 Footer button.
The configure a button please follow these steps:
o Set button label: Use action-oriented text that encourages clicks.

o Choose destination on which it will be displayed.
That includes:
- the type (custom link, site page, custom page, or channel), and
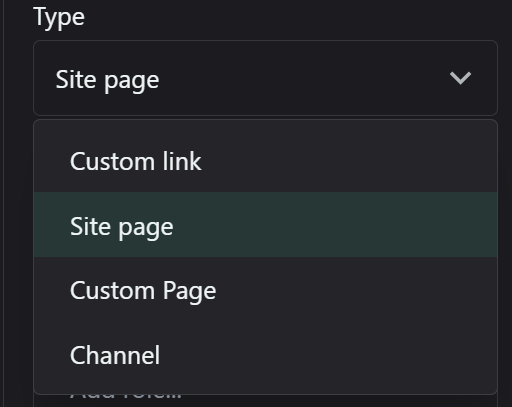
That includes:
- the type (custom link, site page, custom page, or channel), and
- page where it will be displayed ( (e.g., landing page, register page, contacts, etc):


Note: the pages have to be already existing and their destination have to be available for choosing
Ensure the destination page continues the user journey smoothly. Consider using smart redirects based on user status (e.g., logged in vs. new user).
o Set user permissions for button visibility: This allows for personalized calls-to-action.
You can select from users with different roles (for example users, guests, testers or any other category you have created) or
users with defined set of admin permissions (super admin, access admin and etc)
Consider showing different buttons to different user segments (e.g., free vs. premium users).
5. Set up primary and secondary features:
o For each feature, you need to add a feature:
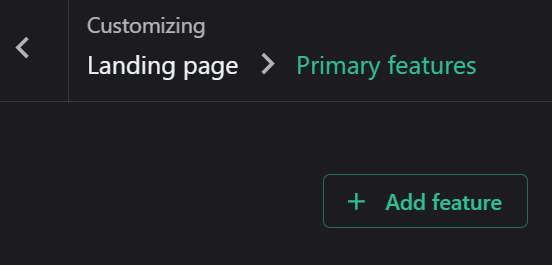
o Select/replace image:
o Add title and subtitle: Keep these concise but descriptive.
o For the secondary features, a description of the feature is optional too
You can add as many primary features as you need on the platform:
The same is valid for the secondary features. They will be displayed in a zig zag format.
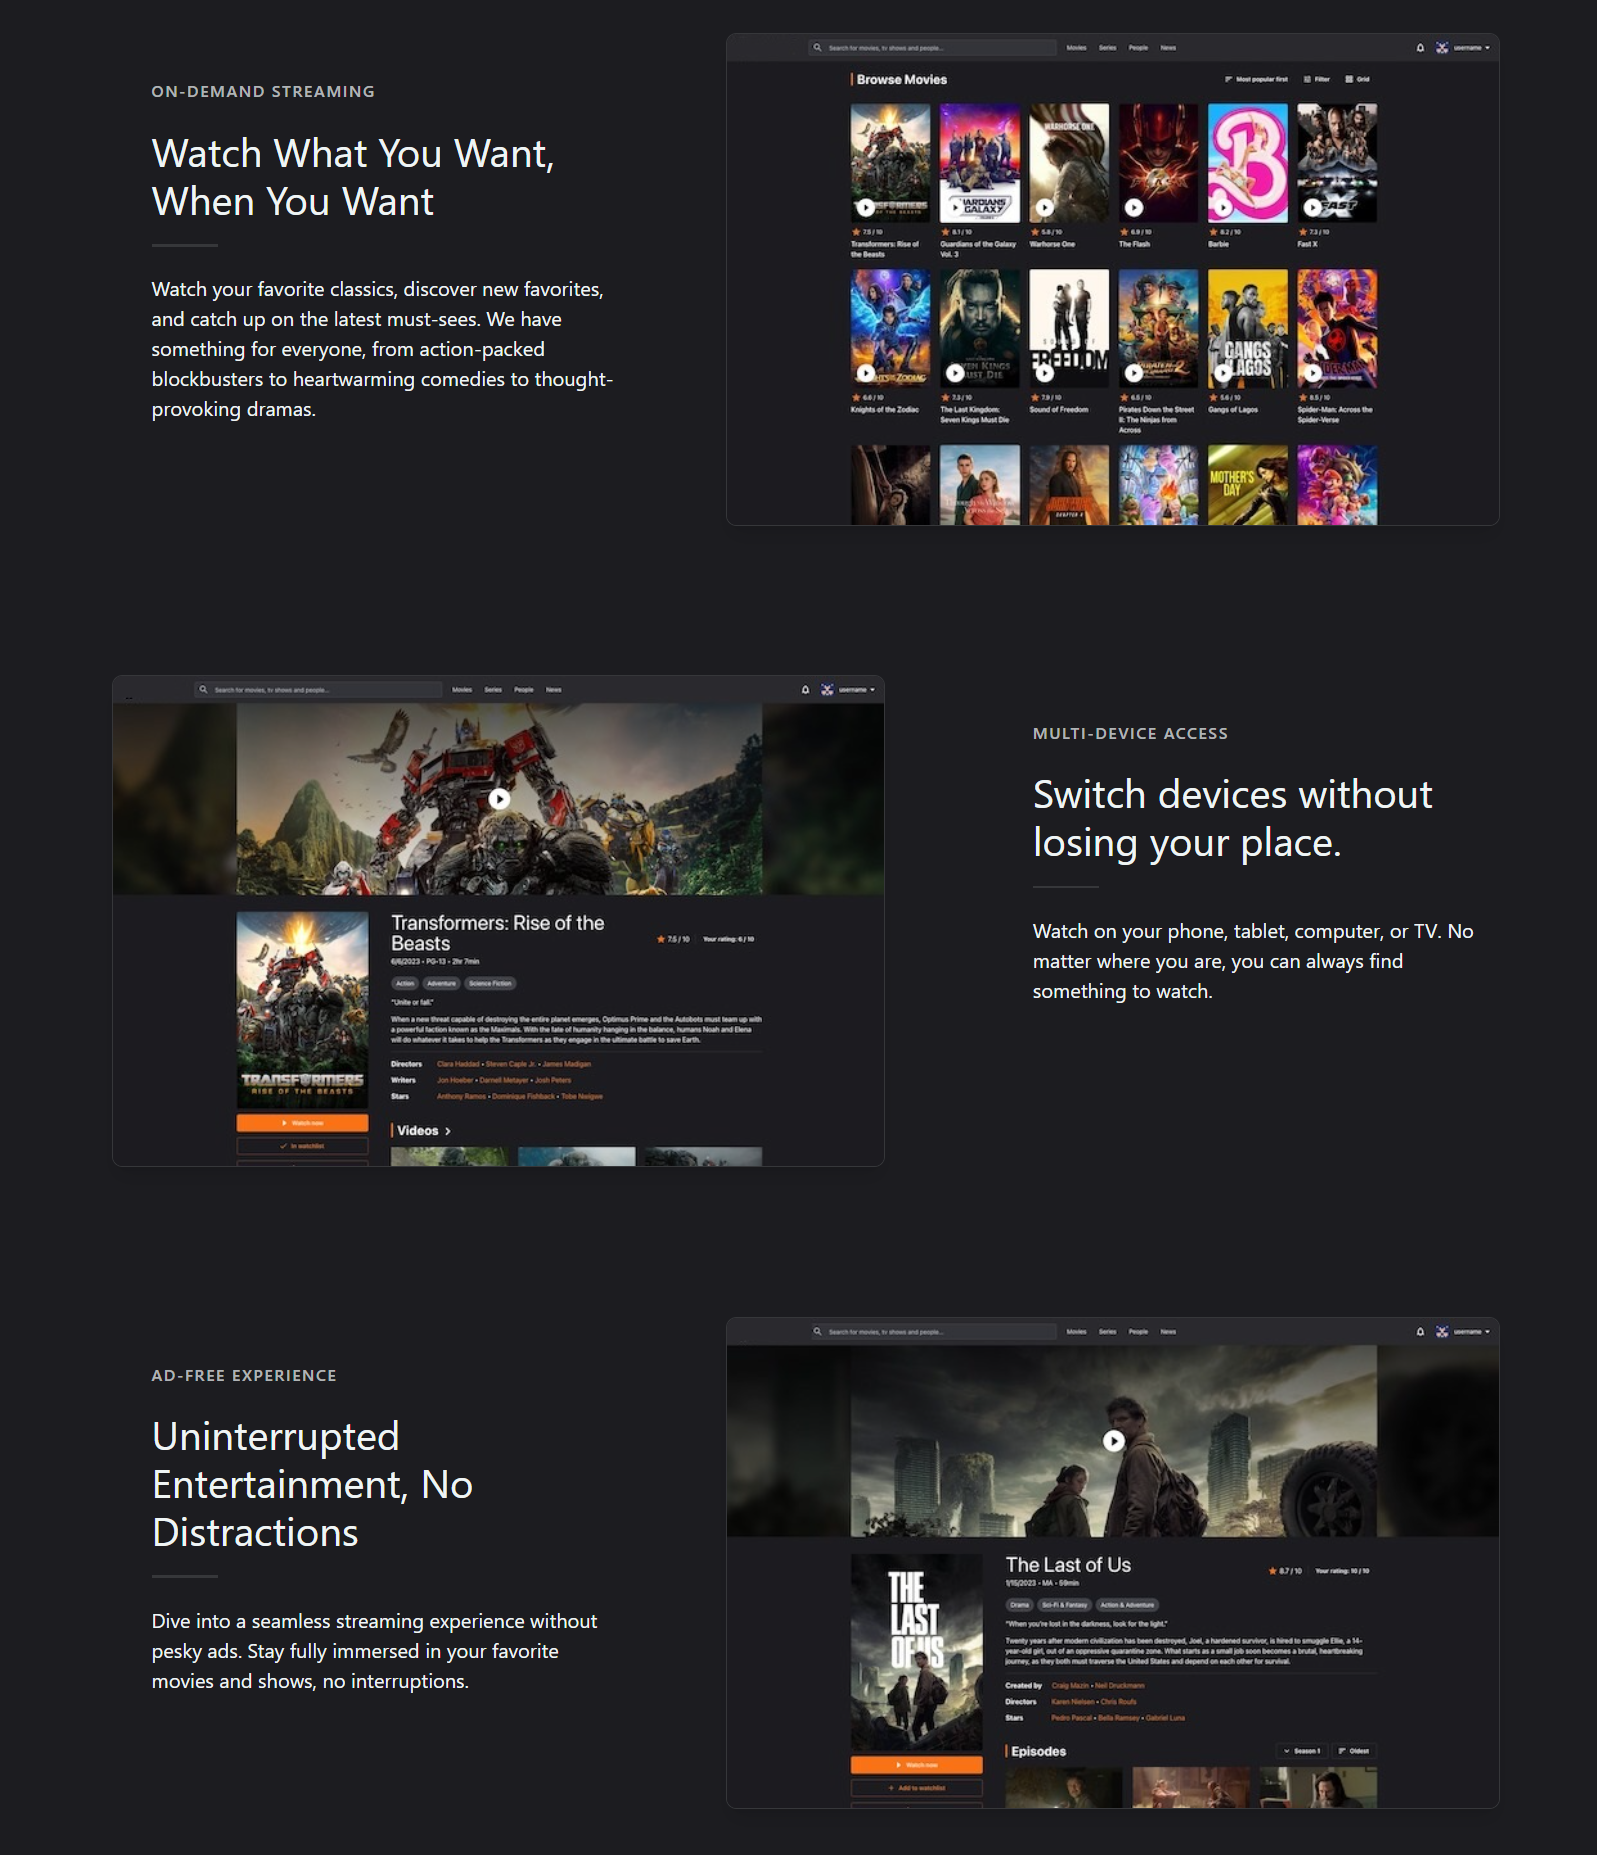
Each modification is visible during the change, which allows live A/B testing on the platform.
The default maximum size permitted to upload an image is 2 MB
Finally, press the Save button in the upper right corner of the dialog windows to save the changes.

6. You can consider if you wish to configure trending titles and pricing table. This will happen through activation of their toggles


and they will be subsequently displayed on the landing page:
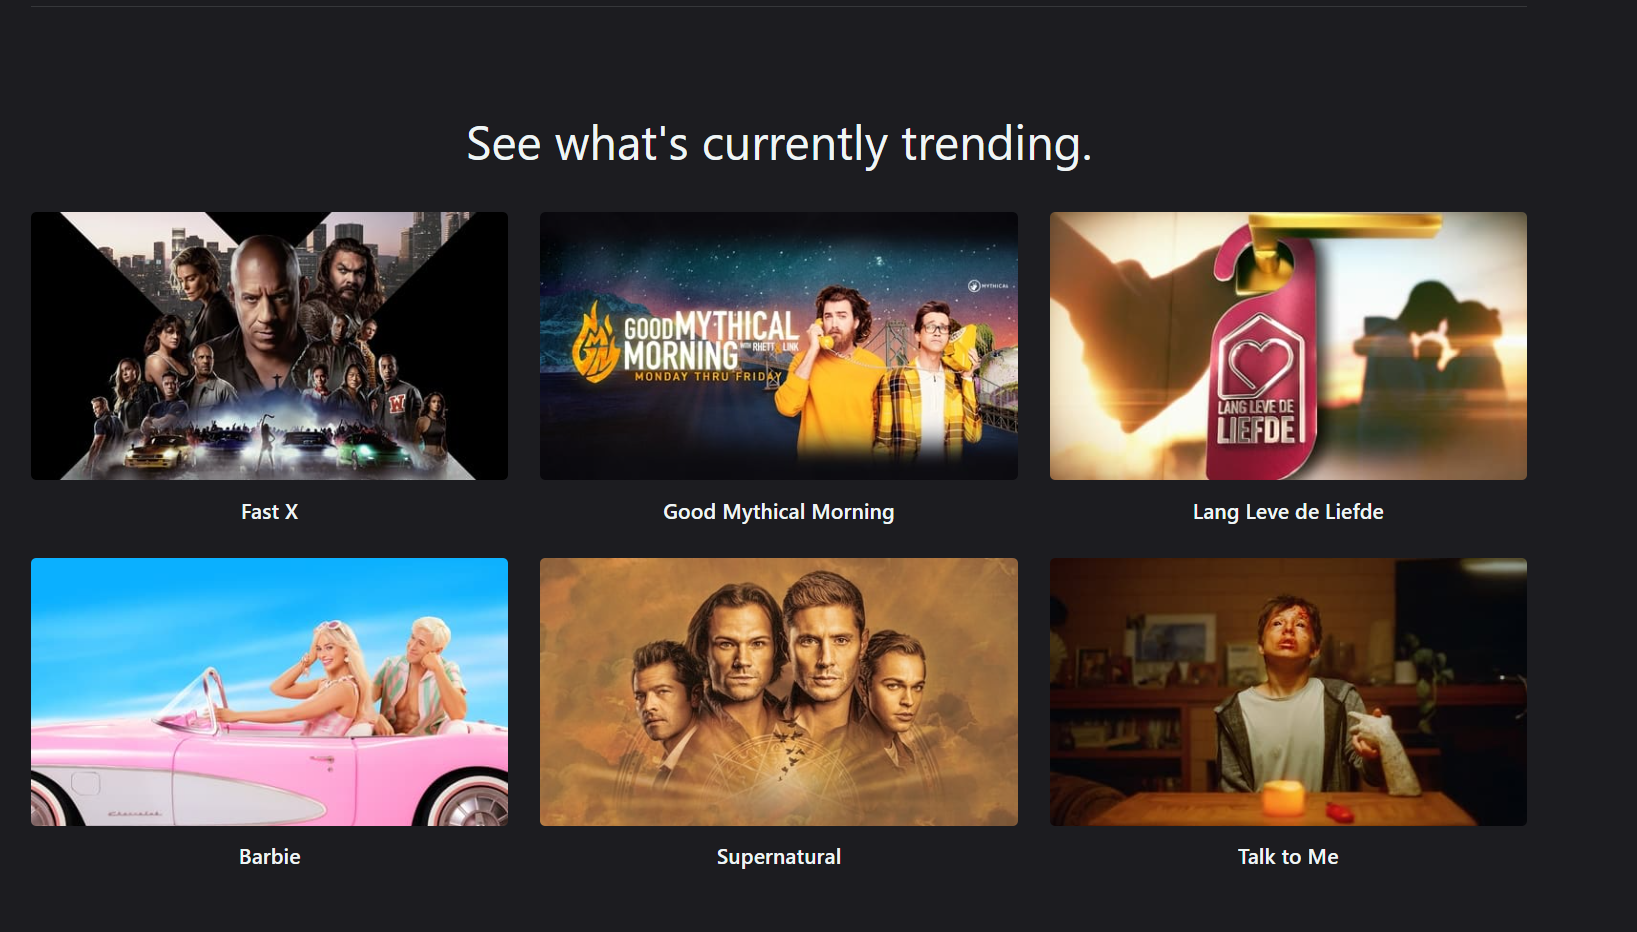
and
7. Set footer title/subtitle and choose the footer image
Finally, save all the modifications with the Save button at the upper right corner of the dialog window
Related Articles
Landing Page
The landing page of your OTT platform is crucial for user engagement and content discovery. It's designed to be dynamic, visually appealing, and highly customizable to meet your specific content strategy and user preferences. The landing page ...Menu Customization
The customization of the menus is done here: Menus The section provides options configure the following menus: • Primary (movies, series, people, news, etc): This is the main navigation for your platform. Organize items in order of importance or user ...Profile Page
To access the profile page, follow the link: OTT Stream - Movies, TV and Celebrities The profile page displays several important fields: • Created lists, ratings, reviews, and comments • Followers and following information • Number of followers, ...Custom pages
The Custom Pages section of your OTT platform allows you to create and manage additional pages for your streaming service. This interface provides tools to view, search, add, and edit custom pages that can enhance your user experience and provide ...General Settings
The general settings of the platform are configured here: Settings - OTT Stream Follow these steps to facilitate the process: • Set primary platform URL (domain): This is the main address users will use to access your platform. Ensure you have proper ...