Subscriptions
This interface provides tools to view, add, and manage subscriptions for your streaming service.
At the top, you'll see the search bar that enables quick lookups of specific subscriptions.

At the right side, you will find two buttons on the right:
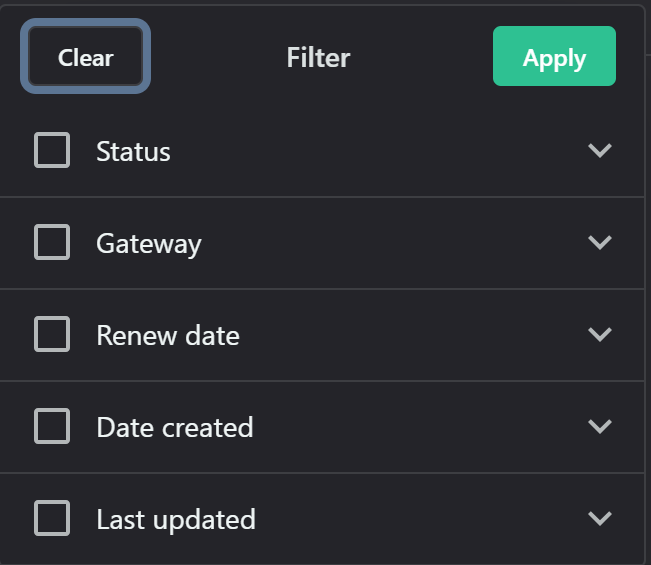
a) "Filter" to refine the displayed subscriptions based on various criteria

b) "Add new subscription" (+) to manually create a new subscription
The main interface contains a table designed to display subscription information with the following columns:
- Customer: Displays the name or identifier of the subscriber.
- Status: Shows the current state of the subscription (e.g., Active, or cancelled).
- Plan: Indicates the specific subscription tier or package the customer has chosen.
- Gateway: Shows the payment method or platform used for the subscription (e.g., PayPal, or Stripe).
- Renews at: Displays the date when the current subscription period will automatically renew.
- Ends at: Shows the date when the subscription will terminate if not renewed.
- Created at: Indicates the date when the subscription was initially created.
Adding Subscriptions:
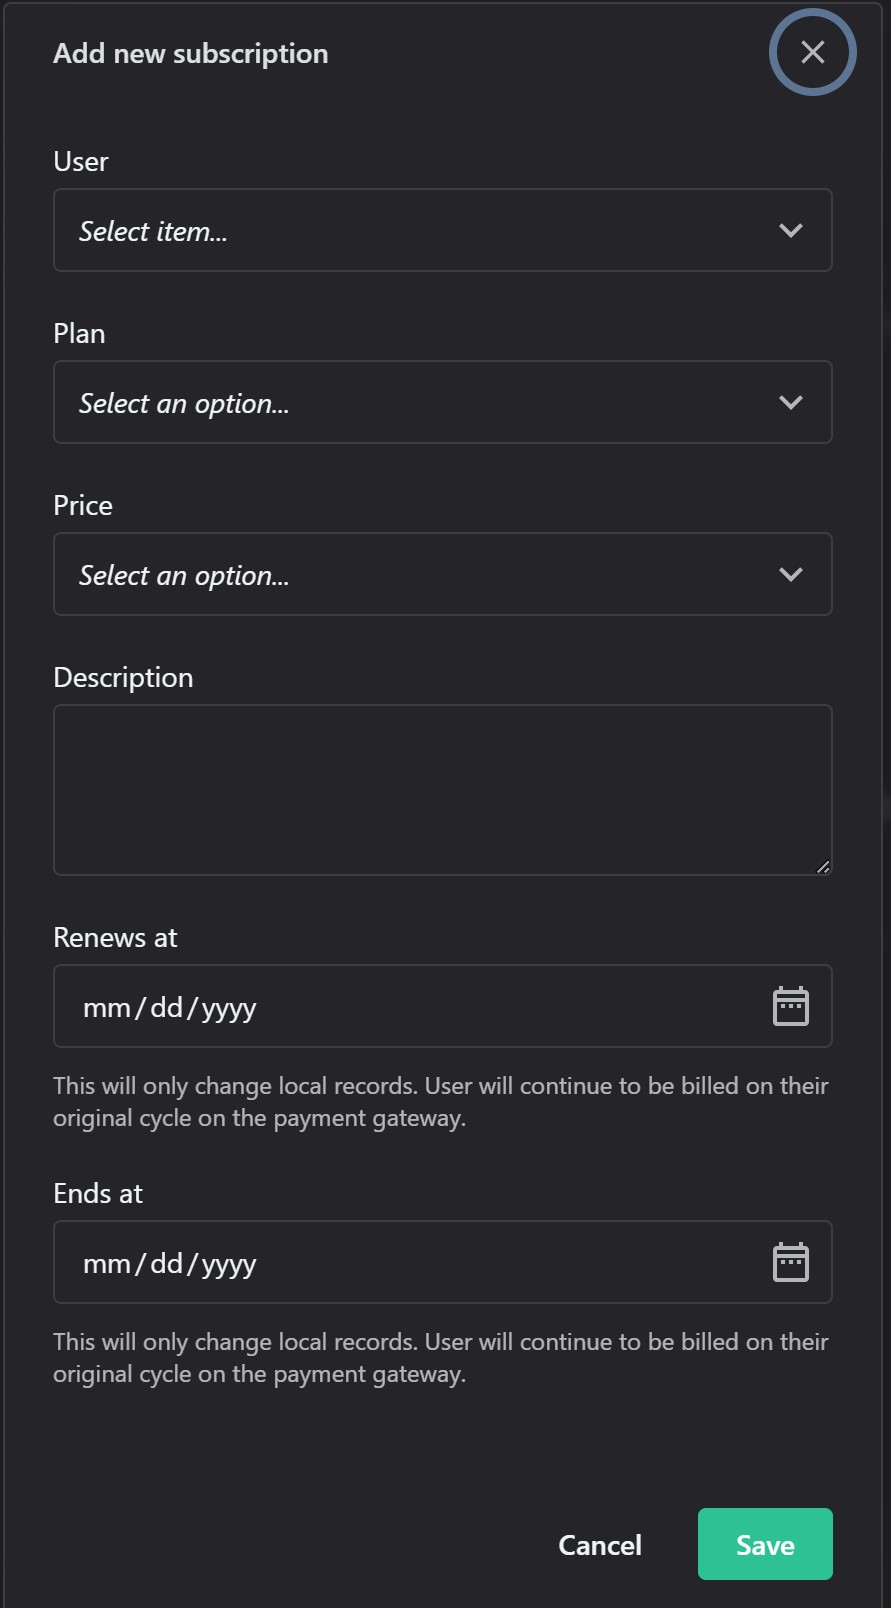
To add a new subscription, click the "Add new subscription" button at the top right.

Enter the subscription details:
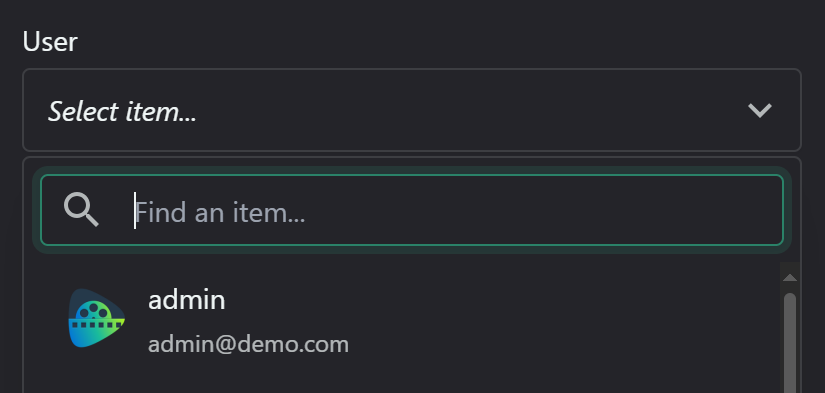
a) User: Use the dropdown menu to select the user for whom you're creating the subscription.

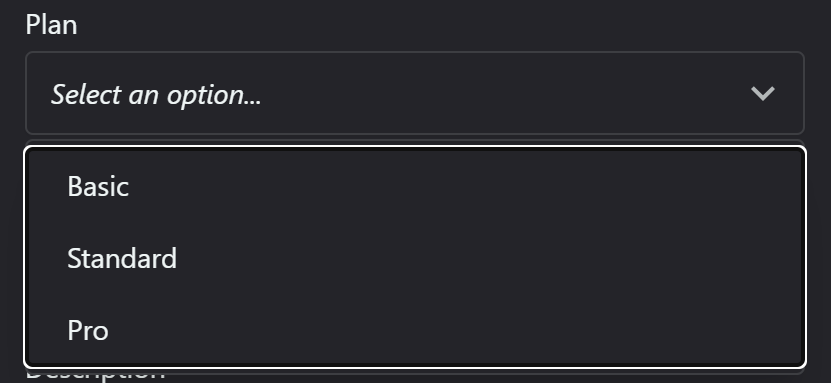
b) Plan: Choose the subscription plan from the available options in this dropdown.

c) Price: Select the pricing option for the chosen plan.

d) Description: Use this text area to add any additional notes or details about this subscription.
e) Renews at: Enter the date when the subscription should renew in the format mm/dd/yyyy.
The calendar icon allows you to pick the date visually.
f) Ends at: Specify the end date of the subscription in mm/dd/yyyy format.

This also includes a calendar picker and the same disclaimer as the "Renews at" field.
Related Articles
Subscriptions Settings
This section configures gateway integration, accepted cards, invoices and other related settings from here: Settings - OTT Stream In the General subsection, you can: - Enable/disable subscription functionality: This is a crucial setting for ...Glossary of Terms
Common OTT Terms & Acronyms OTT – Over The Top – This is the no intermediaries, direct-to-consumer, web-based content distribution. Example: StarTalk All Access’s Roku app is the OTT hub for all technology. VOD – Video On Demand – This is Video on ...How to make money from video content?
How to make money from video content? History of Broadcasting In the days, not so long ago, when terrestrial television was pretty much the only game in town, technology limited us to just a handful of channels. 1920-1940s - Early stages Broadcasting ...Publisher / SSP options
Publisher / SSP options Allow registration It enables platform registration for users. When it is not enabled, users can only be added manually. Allow self-service It allows your users to access self-service features. When the feature is disabled, ...