Videos
The Videos section contains a catalogue of all videos listed on the platform.
The main content area of the OTT CMS platform's Videos page is designed for efficient video content management.
At the top, a prominent search bar is displayed, facilitating quick access to specific videos within the video library.

On the right, two action buttons enhance functionality: a "Filter" option and a "Add video" button is used for uploading new content to the platform:

The Filter option is used for refining the displayed videos based on various criteria:
- User
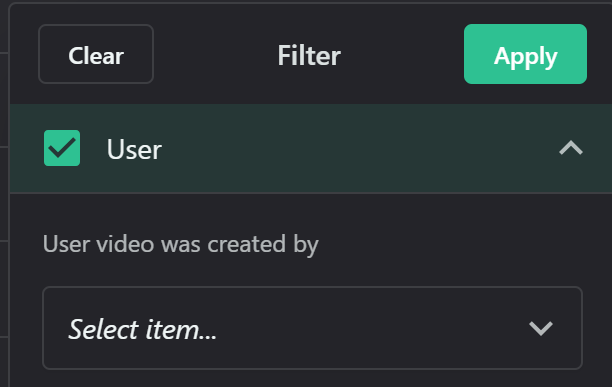
- User
- Title
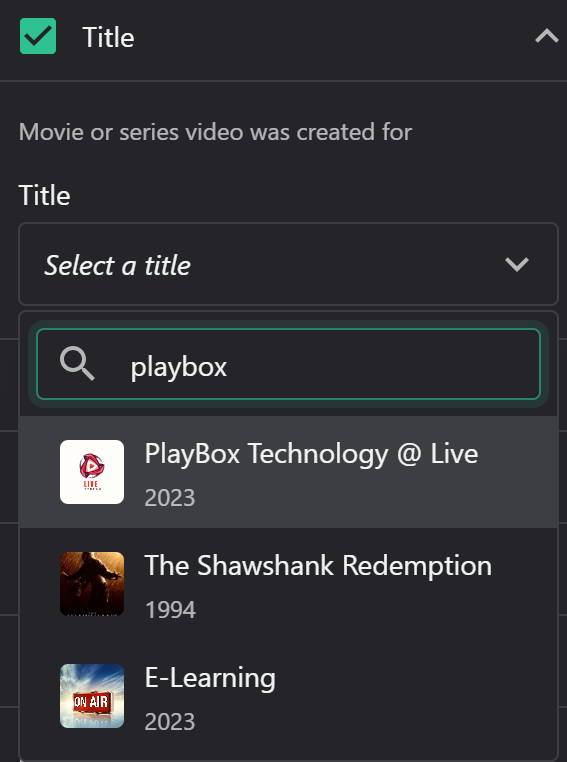
- Status
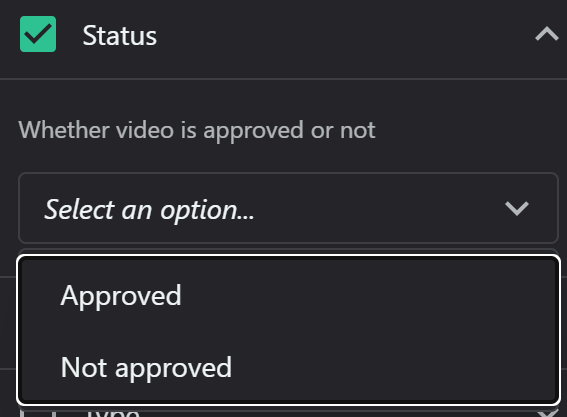
- Origin
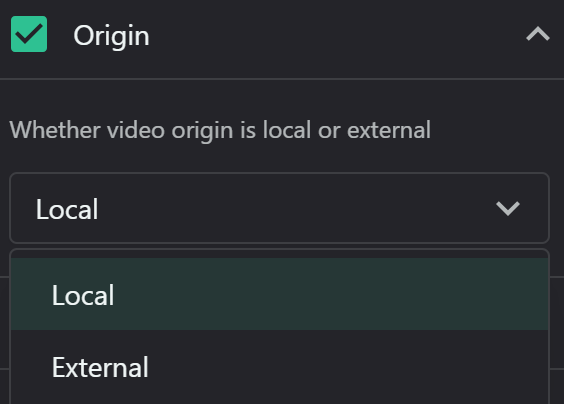
- Type
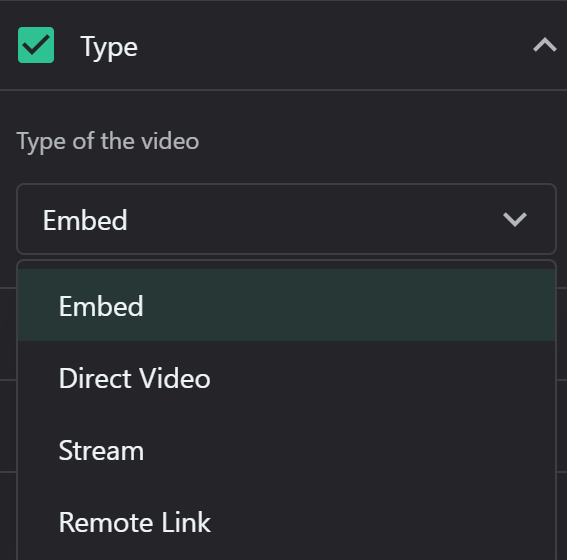
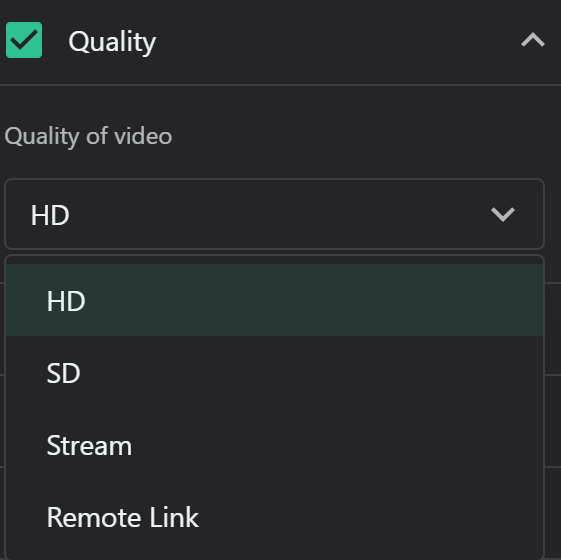
- Quality
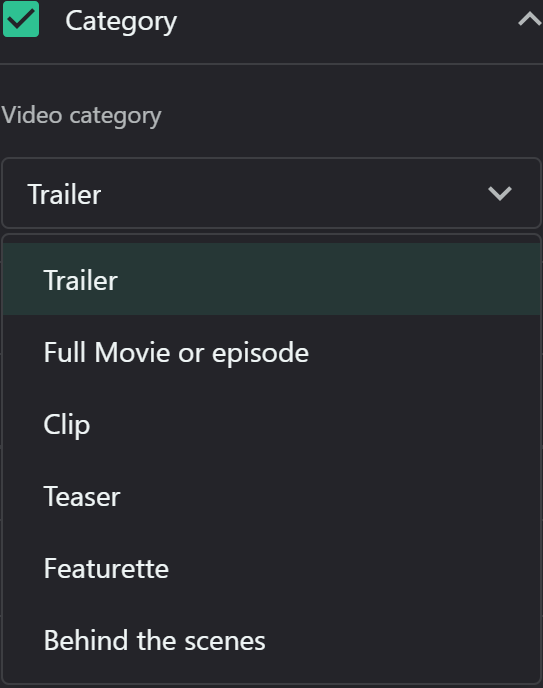
- Video category
- Date of creation
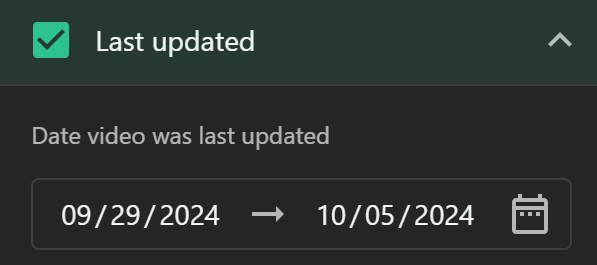
- Last update
The Videos table is the central feature of this section, designed to provide a comprehensive overview of your video content. Each row represents a single video, with columns organized to display key information efficiently:
- Checkbox: Use this to select multiple videos for batch operations.
- Video: Displays a thumbnail and title for quick identification.
- Type: Type of video for all entries, indicating the standard format used.
- Category: Identifies the video as Opening Credits, Full movie or episode, Trailer, Teaser, or Clip.
- Approved: A green checkmark indicates the video has been approved for use.
- Plays: Shows the number of times the video has been played (if tracked).
- Reports: Indicates any user reports or issues (if applicable).
- Last updated: Displays the date of the most recent modification.
- Display chart icon: Redirects to the analytics data of the specific video.
- Display edit (pencil) icon: Enables the modification of the video page.
To manage your videos:
- Use the checkbox to select one or multiple videos for bulk actions.
- Click on a video's title to view more details or edit its information.
- Use the "Filter" button to narrow down the displayed videos based on specific criteria.
- To add new content, click the "Add video" button and follow the prompts.
- Sort the videos alphabetically, numerically or chronologically from the table headings
To add a new video:
1. Click "Add Video": This should open an intuitive dialog window for video upload and configuration.
2. Enter video name: This helps with organization and can be different from the display title if needed.
3. Select associated title: This links the video to its main content page.
4. Choose thumbnail file: The thumbnail is crucial for attracting clicks.
5. Select source type (embedded video, direct video, adaptive stream, basic URL): Each type has different use cases and technical requirements.
6. Add video source (URL, file, or embedded code): This is where the actual video content is specified.
For embedded videos, add the embedded code in the source section
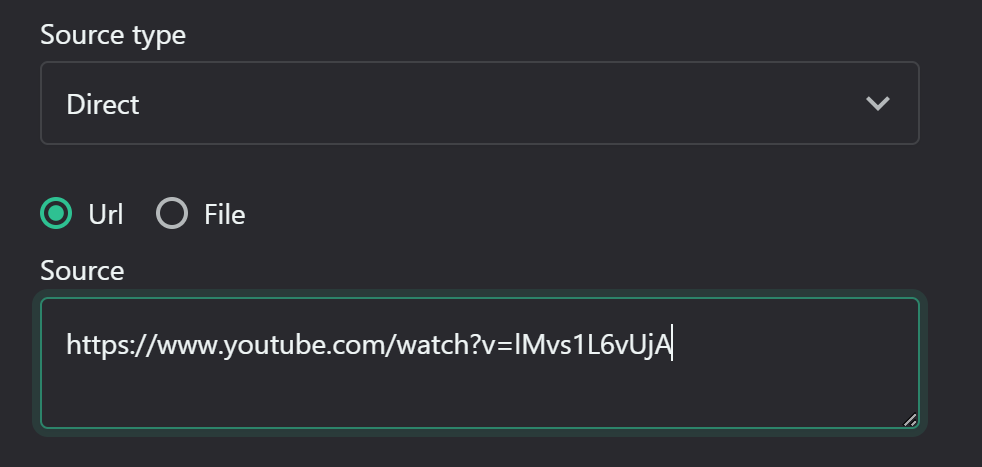
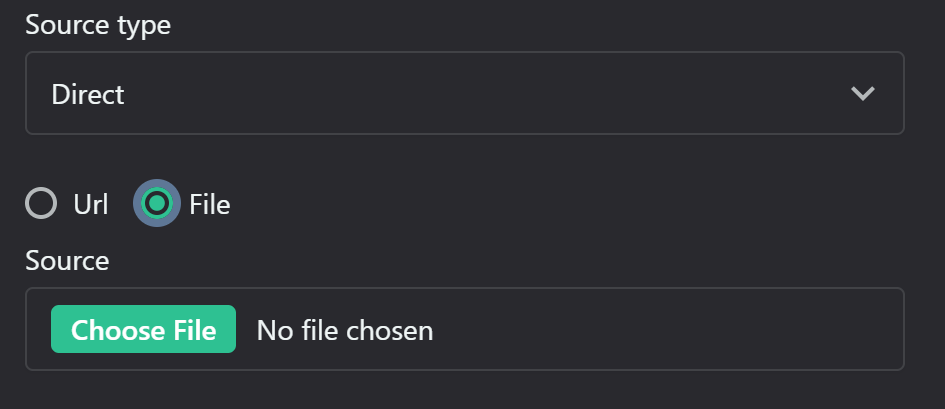
For direct link, you select where it is direct video link or direct upload on the platform.
For direct URL link, you just place the URL:
For upload, you select a file from the local drive by clicking on the button Choose File or Replace File (when editing the video content):
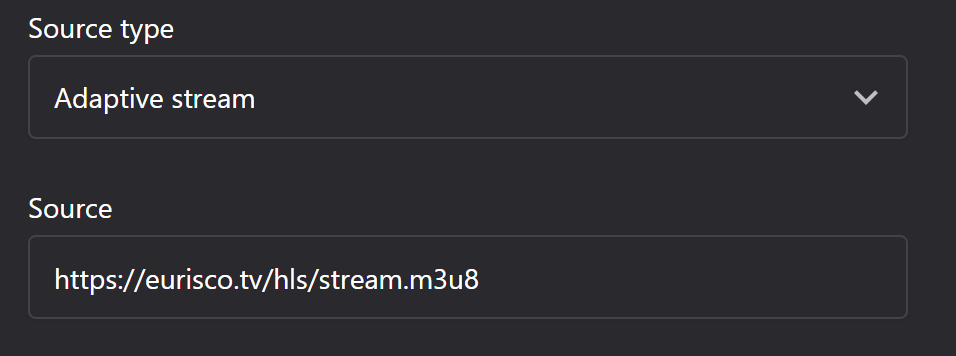
For adaptive (HLS, DASH or HDS) stream, add the configured stream link into the source:
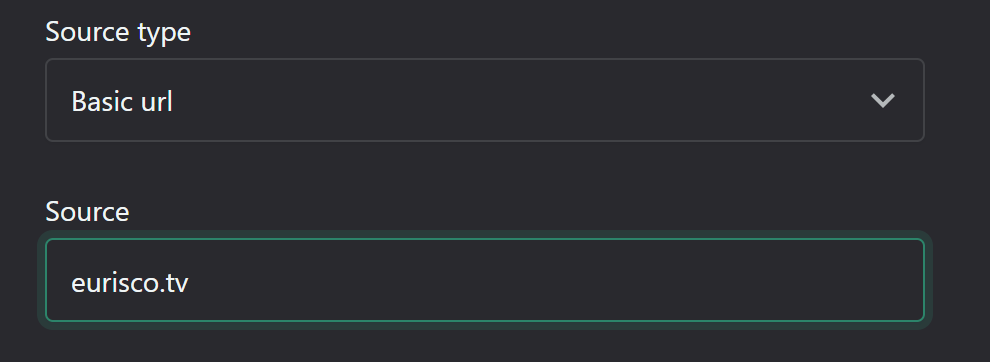
For basic URL, enter the name of the URL in the source field:
7. Set video quality, language, and content type:
These settings affect how the video is displayed and filtered.
8. Upload subtitles/captions if needed:
That is done from the Add captions button under the video preview.
Clicking on Add Captions button will display a new dialog window, where the file can be added and its language selected
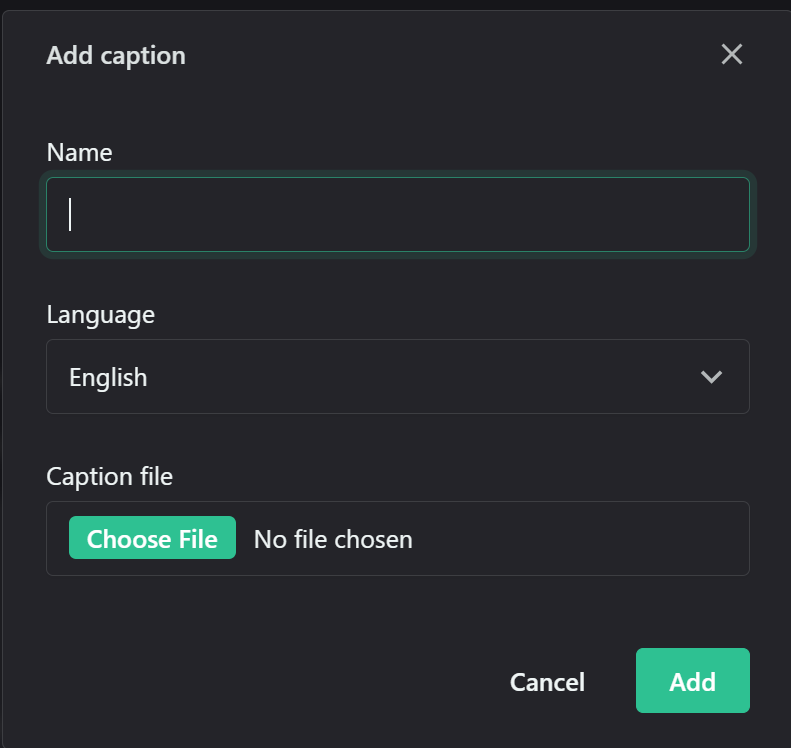
Subtitles enhance accessibility and allow for multilingual support.