Users
The Users section displays a list of all registered users on your OTT platform.
This interface allows administrators to manage user accounts, view user details, and perform various actions.
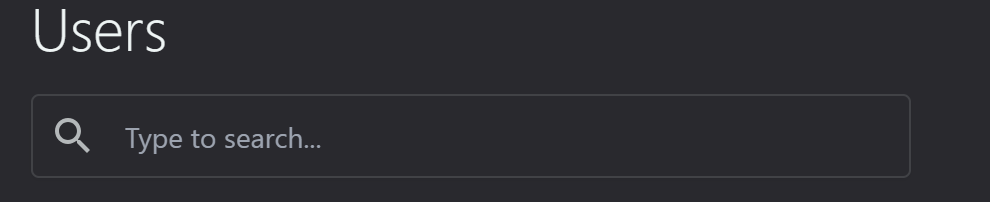
In the top area, you'll find
A search bar that allows you to quickly find specific users by typing their details.
Three buttons on the right:
a) "Filter" to refine the displayed users based on various criteria
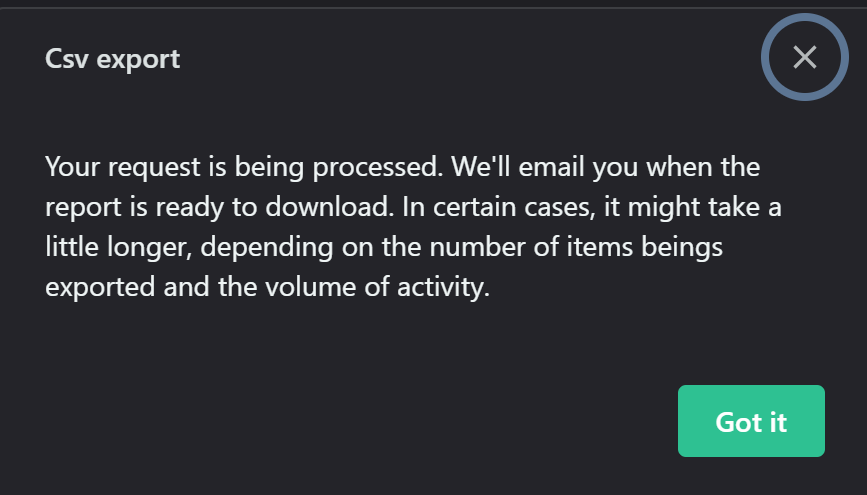
b) A download icon for exporting user data
c) "Add new user" (+) to create a new user account manually
The main interface displays detailed information about each user:
- Checkbox: Used to select multiple users for batch operations.
- User: Displays the user's avatar, name, and email address.
- Subscribed: Shows subscription status (an 'X' indicates not subscribed).
- Roles: Lists the user's role within the system (e.g., User, Tester, Admin).
- First Name: Indicates the user's first name.
- Last Name: Indicates the user's last name.
- Created At: Shows the date when the user account was created.
- Action Icons: Includes Edit (pencil icon) and Delete (trash can icon) for user account modification or deletion.
Managing Users:
- To edit a user's information, click the pencil icon in their row.
- To delete a user, use the trash can icon (use with caution).
- To sort the fields, click on the header of each column.
- To add a new user, click the "Add new user" button at the top right.
Adding new user
The Add New User dialog window allows you to manually create new user accounts.
Here's a detailed guide on how to use it:
a) Profile Image: Click on the image placeholder to upload a profile picture.
b) Email: Enter the user's email address.
c) Password: Set an initial password for the user.
The platform allows for automatic generation of passwords
d) First name: Enter the user's first name.

e) Last name: Enter the user's last name.
f) Email confirmed: Toggle switch to indicate if the email has been confirmed.

Note: Users cannot log in until their email is confirmed.
g) Allowed storage space: Specify the storage limit for the user in bytes, KB, MB, GB, TB.

h) Roles: Assign one or more roles to the user.
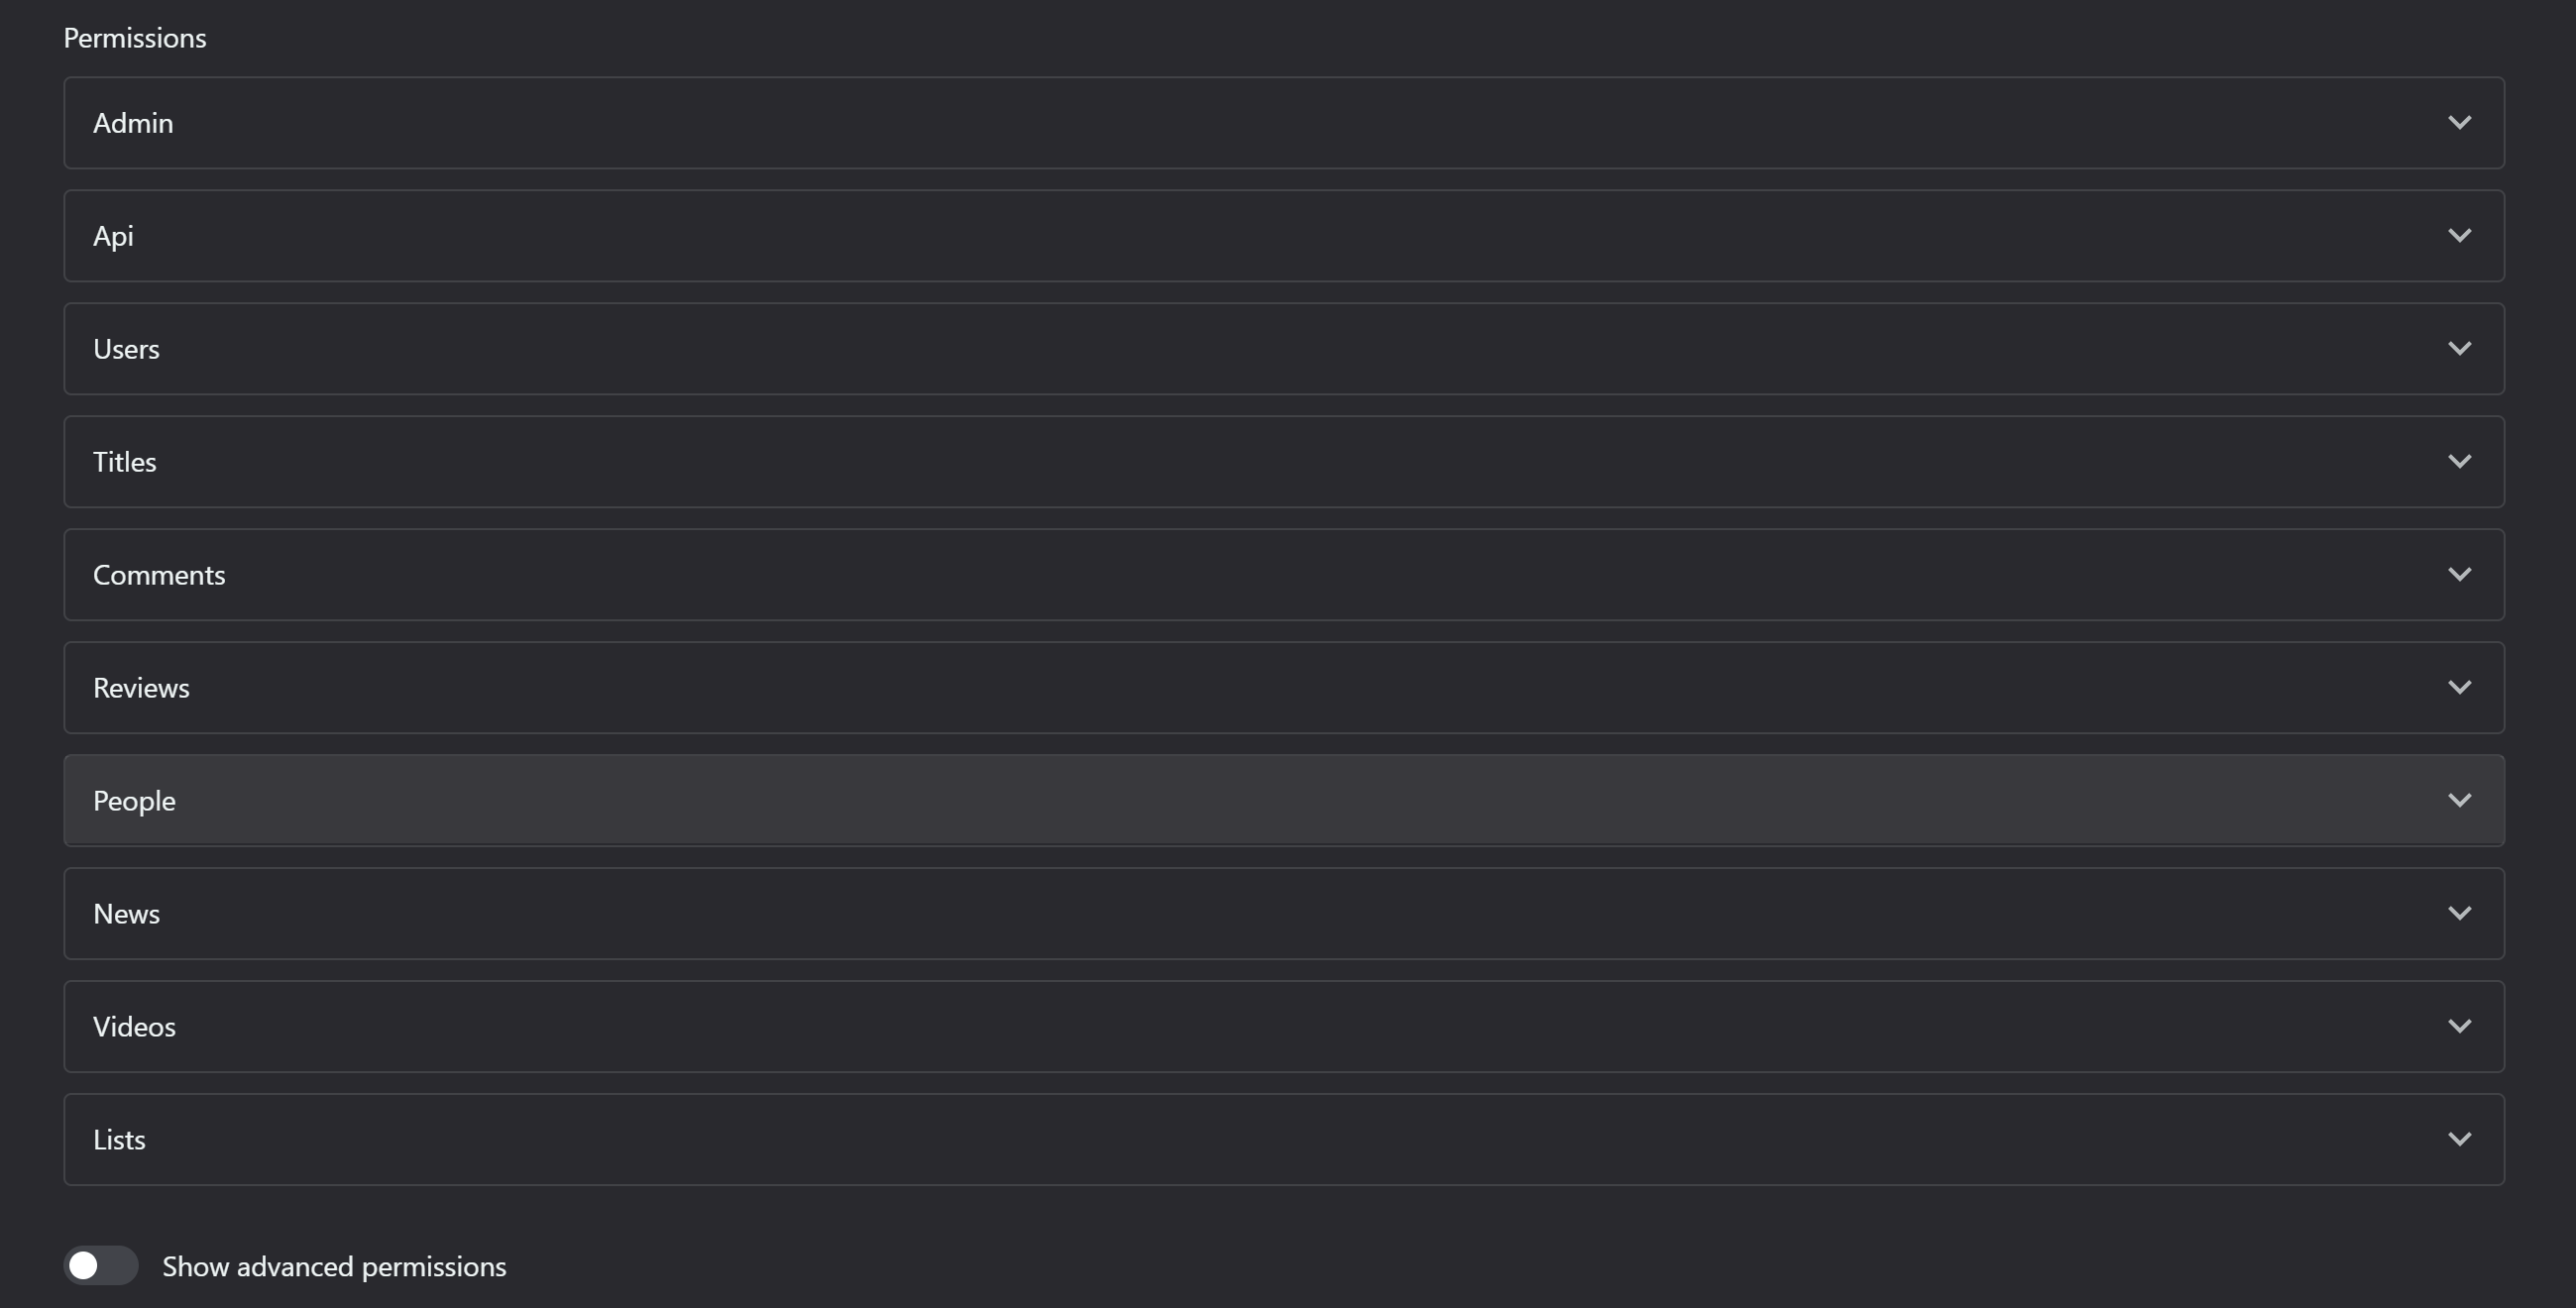
i) Permissions: Choose from the expandable sections (Admin, API, Roles, Custom Pages, Files, Users, Localizations, Settings, Plans, Invoices, Tags, Titles, Comments, Reviews, People, News, Videos, Lists) allow you to set specific permissions for this user.
Related Articles
Financial Management for our users
In this section, we will give a better understanding of the financial management in your account. Billing, receiving payments, paying out users, managing account balances, and integrating payment systems are all covered in this section. Terms and ...Localization
This section configure global date, time and language settings from here: Settings - OTT Stream It enables: - Setting default timezone for new users and guests: This affects which timezone is selected by default for new users and guests and how times ...GDPR
The GDPR section configures settings related to EU General Data Protection Regulation. In this section, the users can: - Enable/disable cookie notice for EU users: This is crucial for compliance with EU privacy laws. Consider implementing a ...General Settings
The general settings of the platform are configured here: Settings - OTT Stream Follow these steps to facilitate the process: • Set primary platform URL (domain): This is the main address users will use to access your platform. Ensure you have proper ...User Account Settings
To access your user account area, please click on your user name on the upper right section of the landing page: A drop down menu with the following sections will show: • Admin area: This section is for platform administrators to manage global ...